


Installing WPC (Wood-Plastic Composite) decking on an uneven surface can be a challenging yet rewarding project. As a WPC decking supplier, I've witnessed firsthand the transformative power of a well - installed WPC deck. In this blog, I'll guide you through the process of installing WPC decking on an uneven surface, providing you with tips and techniques to ensure a successful installation.
Understanding the Challenges of Uneven Surfaces
Before diving into the installation process, it's crucial to understand the challenges posed by uneven surfaces. Uneven ground can cause the decking to appear bumpy, which not only affects the aesthetics but also poses a safety hazard. Additionally, improper installation on an uneven surface can lead to premature wear and tear of the decking material.
Assessing the Surface
The first step in installing WPC decking on an uneven surface is to assess the area. Use a long straightedge, such as a 4 - foot level, to identify high and low spots. Mark these areas clearly so that you can address them during the installation process. It's also important to measure the slope of the surface. A gentle slope is acceptable as it allows for water drainage, but a steep slope may require additional support or leveling.
Tools and Materials Needed
To install WPC decking on an uneven surface, you'll need the following tools and materials:
- Measuring tape
- Circular saw or miter saw
- Drill
- Screwdriver
- Level
- Hammer
- Joist hangers
- Decking screws
- Pressure - treated lumber for the substructure
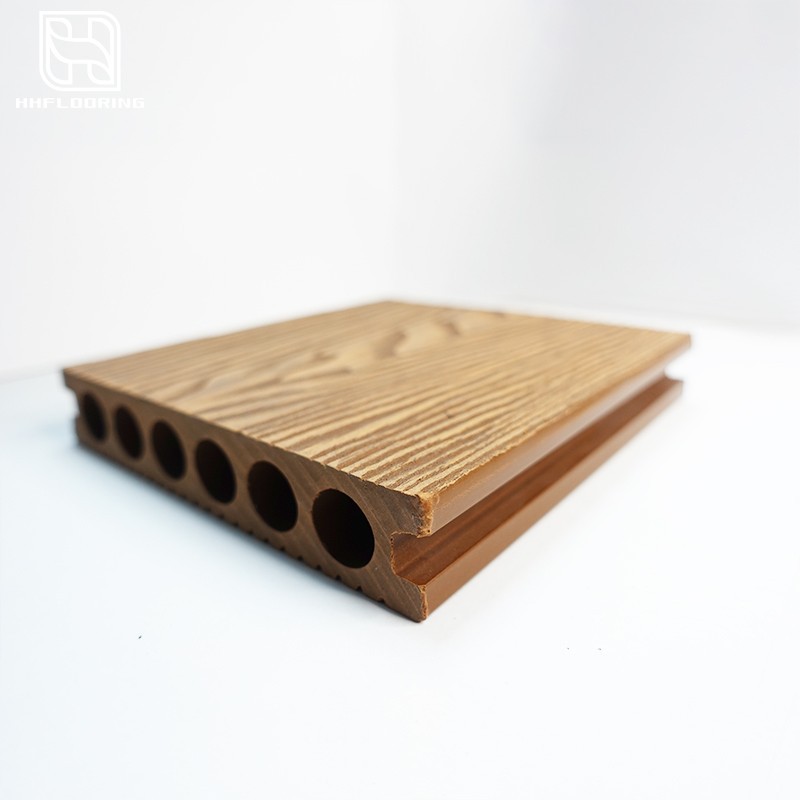
- Solid Wpc Decking or Wpc Hollow Decking depending on your preference
Building the Substructure
The substructure is the foundation of your deck and is crucial for leveling the surface. Start by installing pressure - treated lumber joists. If the ground is uneven, you may need to cut the joists to different lengths to create a level surface. Use joist hangers to secure the joists to the ledger board or posts. Make sure the joists are spaced evenly, typically 16 inches on center.
For areas with significant height differences, you can use adjustable post bases or shims to level the joists. Shims are small pieces of wood or plastic that can be inserted between the joist and the support to raise or lower it. Make sure to check the level of each joist as you install them to ensure a flat surface.
Installing the WPC Decking
Once the substructure is in place and level, it's time to install the WPC decking. Start by laying the first board along the edge of the deck, making sure it is straight and flush with the joists. Use decking screws to secure the board to the joists. Make sure to pre - drill holes to prevent the WPC material from splitting.
When installing subsequent boards, leave a small gap between each board to allow for expansion and contraction. The recommended gap is typically 1/8 to 1/4 inch. You can use spacers to ensure consistent spacing between the boards.
For corners and edges, use a miter saw to cut the decking at the appropriate angle. Make sure to measure twice and cut once to ensure accurate cuts. If you're using Deck Terasa Wpc, follow the manufacturer's instructions for installation, as different types of decking may have specific requirements.
Finishing Touches
After all the decking boards are installed, you can add finishing touches such as railings, stairs, or decorative elements. Railings are not only a safety feature but also enhance the aesthetics of the deck. Make sure to install the railings according to local building codes.
Stairs can be added to provide access to the deck. You can build the stairs using pressure - treated lumber or purchase pre - fabricated stair kits. Make sure the stairs are level and secure.
Maintenance Tips
Once your WPC deck is installed, it's important to maintain it properly to ensure its longevity. WPC decking is relatively low - maintenance compared to traditional wood decking, but it still requires some care.
Regularly sweep the deck to remove dirt, leaves, and debris. You can also use a mild detergent and water to clean the deck if it gets dirty. Avoid using harsh chemicals or abrasive cleaners, as they can damage the surface of the WPC decking.
Inspect the deck regularly for any signs of damage, such as loose boards or screws. Tighten any loose screws and replace any damaged boards as soon as possible.
Conclusion
Installing WPC decking on an uneven surface may seem daunting, but with the right tools, materials, and techniques, it can be a manageable project. By following the steps outlined in this blog, you can create a beautiful and functional deck that enhances your outdoor living space.

If you're interested in purchasing high - quality WPC decking for your project, we're here to help. Our team of experts can provide you with advice on the best type of decking for your needs and assist you throughout the installation process. Contact us to start your decking project today and bring your outdoor vision to life.
References
- "Deck Building Basics" by the National Association of Home Builders
- "WPC Decking Installation Guide" provided by leading WPC decking manufacturers