


As a seasoned supplier of floor reducers, I've witnessed firsthand the pivotal role these unassuming yet essential components play in creating seamless transitions between different floor surfaces. A well - attached floor reducer not only enhances the aesthetic appeal of a space but also contributes to its functionality and durability. In this blog, I'll share in - depth insights on how to attach a floor reducer firmly, ensuring a long - lasting and professional finish.
Understanding Floor Reducers
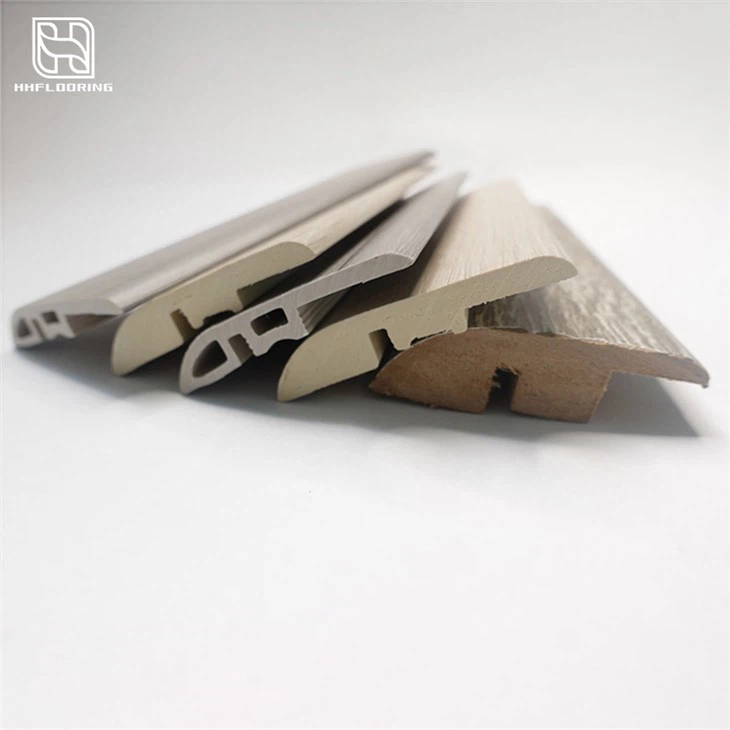
Before delving into the attachment process, it's crucial to understand what floor reducers are and the different types available. Floor reducers are transitional moldings used to bridge the gap between two floors of different heights or materials. They come in various styles and materials, each designed to suit specific flooring types. For instance, Vinyl Plank Reducer is ideal for vinyl plank floors, providing a smooth transition and protecting the edges of the planks. On the other hand, Laminate Reducer Molding is tailored for laminate floors, offering a seamless look and preventing damage to the laminate edges.
Preparing the Work Area
The first step in attaching a floor reducer firmly is to prepare the work area. This involves cleaning the surfaces where the reducer will be installed. Remove any dirt, dust, debris, or old adhesive from the floors. A clean surface ensures better adhesion and a more secure attachment. Use a broom to sweep the area, followed by a damp mop to remove any remaining particles. If there are stubborn stains or adhesive residues, you can use a suitable floor cleaner or adhesive remover. Make sure the floors are completely dry before proceeding with the installation.
Next, measure the length of the transition area accurately. Use a tape measure to get precise measurements, and then cut the floor reducer to the appropriate length. It's advisable to cut the reducer slightly longer than the measured length and then trim it to fit perfectly after test - fitting. This allows for any minor inaccuracies in the measurement and ensures a snug fit.
Choosing the Right Adhesive
Selecting the appropriate adhesive is crucial for a firm attachment. The type of adhesive you choose depends on the type of floor and the floor reducer material. For vinyl or laminate floor reducers, a high - quality construction adhesive is often a good choice. Look for an adhesive that is specifically designed for the materials you are working with. It should have strong bonding properties, be resistant to moisture, and flexible enough to accommodate any minor movements in the floors.

Before applying the adhesive, read the manufacturer's instructions carefully. Some adhesives require you to apply them to both the floor and the reducer, while others may only need to be applied to one surface. Also, pay attention to the drying time and the recommended temperature and humidity conditions for application.
Applying the Adhesive
Once you've chosen the right adhesive, it's time to apply it. If the adhesive needs to be applied to the floor, use a notched trowel to spread it evenly. The notches on the trowel help to create a consistent layer of adhesive and ensure proper bonding. Start at one end of the transition area and work your way towards the other end. Make sure to cover the entire area where the floor reducer will be placed.
If the adhesive is to be applied to the floor reducer, use a brush or a small roller to spread it evenly on the back of the reducer. Be careful not to apply too much adhesive, as this can cause it to squeeze out when the reducer is pressed down, creating a messy appearance.
Installing the Floor Reducer
After applying the adhesive, carefully place the floor reducer on the prepared surface. Start at one end and gradually lower the reducer onto the adhesive, making sure it aligns properly with the edges of the two floors. Use a rubber mallet or a block of wood and a hammer to gently tap the reducer into place. This helps to ensure full contact with the adhesive and a firm bond.
As you tap the reducer, check for any gaps or unevenness. If you notice any gaps, lift the reducer slightly and add more adhesive to the area. Then, press the reducer back down and tap it again. Make sure the reducer is level and flush with the floors on both sides.
Securing with Fasteners (Optional)
In some cases, especially for larger or heavier floor reducers, it may be necessary to use fasteners in addition to the adhesive for extra security. You can use nails or screws, depending on the type of floor and the reducer. If using nails, make sure they are the appropriate length and gauge for the materials. Drill pilot holes to prevent the wood from splitting, especially if you are working with a wooden floor reducer.
When using screws, choose ones that are corrosion - resistant and have a suitable head style. Drive the screws into the pre - drilled holes, making sure not to overtighten them, as this can damage the reducer or the floors.
Finishing Touches
Once the floor reducer is firmly attached, clean up any excess adhesive that may have squeezed out. Use a putty knife or a damp cloth to remove the adhesive while it's still wet. This will give the installation a clean and professional look.
Inspect the installation one more time to ensure everything is in place and looks good. Check for any loose areas or gaps, and make any necessary adjustments. If the floor reducer has a finish or a coating, make sure it is intact and looks consistent.
Maintenance and Long - Term Care
To ensure the long - term durability of the attached floor reducer, proper maintenance is essential. Regularly clean the floors and the reducer using a mild floor cleaner and a soft mop or cloth. Avoid using abrasive cleaners or tools that can scratch the surface of the reducer.
If you notice any signs of wear or damage, such as loose edges or cracks, address them promptly. You may need to re - apply adhesive or replace the reducer if the damage is severe.
Conclusion
Attaching a floor reducer firmly is a process that requires careful preparation, the right materials, and proper installation techniques. By following the steps outlined in this blog, you can ensure a professional - looking and long - lasting installation. Whether you're working on a residential or commercial project, a well - attached floor reducer can make a significant difference in the overall appearance and functionality of the space.
If you're in the market for high - quality floor reducers or need more advice on installation, I encourage you to reach out to us. We have a wide range of floor reducers to suit various flooring types and design preferences. Our team of experts is always ready to assist you with your procurement needs and provide in - depth guidance on installation. Let's work together to create seamless and beautiful floor transitions.
References
- "Flooring Installation Guide" - Published by a leading flooring industry association.
- Manufacturer's instructions for floor reducers and adhesives.